ON THURSDAY’S I POST FROM THE VAULT. THIS POST IS FROM FEBRUARY 2012.
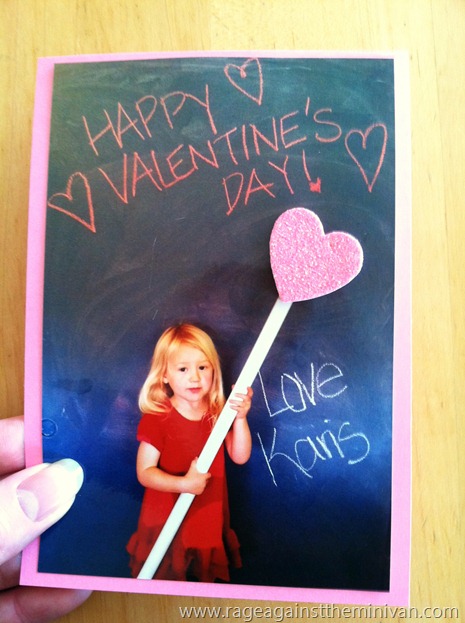
I’m not really a “handmade card” kind of mom. I think it’s lovely that other moms are, but at this stage in our family there is usually just not enough time in the day for me to indulge in my creative side . . . beyond staring at the things other people are doing on Pinterest. With Valentine’s Day approaching, though, I did decide to make some homemade cards, inspired in part by cards like this one. But, if I’m to be totally honest, it was also inspired by my desire to not have to supervise four kids signing their name to 20+ cards. We are barely recovered from “thank-you-gate” over here. (For those waiting in anticipation, we did manage to write and deliver the thank-you cards for the twins’ birthday, after I was adequately shamed advised in the comment section of this post.) Anyways, after seeing a few cute photo cards on Pinterest, I decided to make photo cards using the chalkboard wall in the boys’ room. We are in the process of rearranging India’s closet so I just happened to have a closet rod hanging around the house – but I’ve seen other people use a white plastic pipe from Home Depot for these purposes. I wrote a little note on the chalkboard and snapped a picture of each child holding what would become the lollipop stick.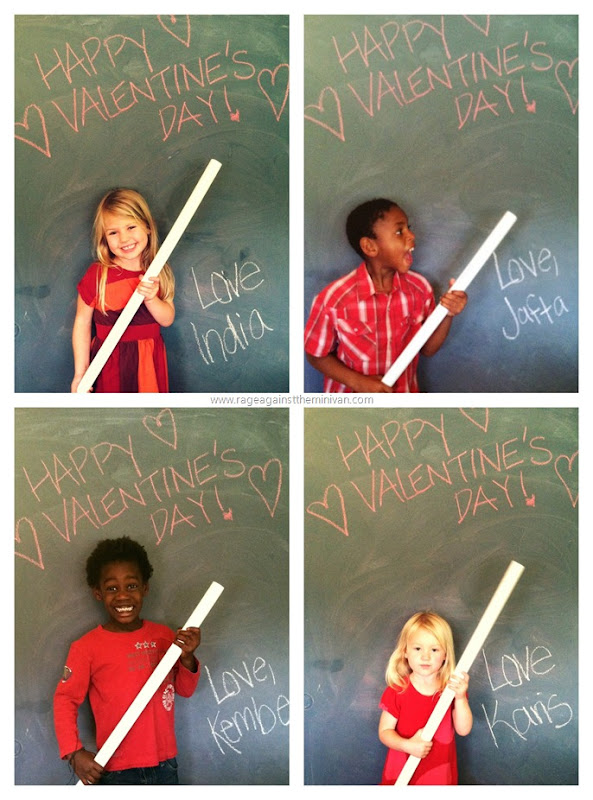 I took the pics on my phone, and then uploaded them to Shutterfly with their iphone app. I hunted around for Shutterfly promo codes on a few coupon sites, and my photo order total for 25 prints per kid came out to $3 plus shipping. Not bad. The most difficult aspect of the photo shoot was that my kids could NOT understand where the giant lollipop was. I kept trying to explain perspective to them . . . that I would print the photos and then the stick would be for a regular lollipop. They didn’t get it, and are still quite disappointed that a lollipop the size of their head never materialized.
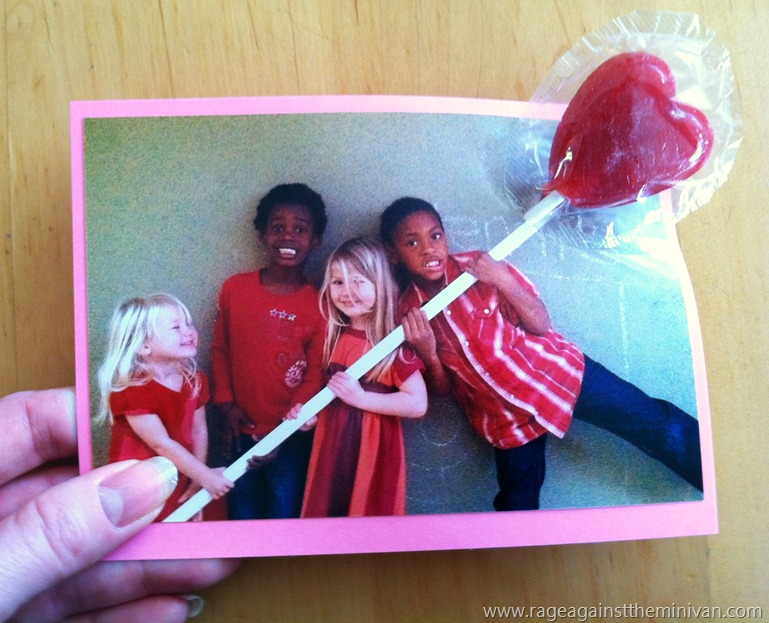
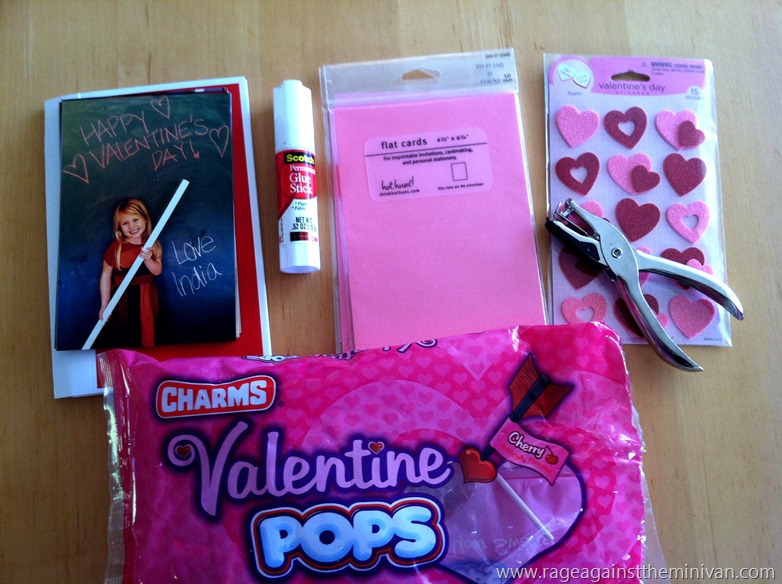 Next, I grabbed a bag of heart-shaped lollipops at Target, along with some pink flat cards that were slightly larger than the photo to use as backing. I glued the picture onto the flat card, made a hole, inserted a lollipop, and taped it to the back. As it turns out, the hole punch wouldn’t reach the right place on the photo, so I ended up making a small hole in the picture with a steak knife.
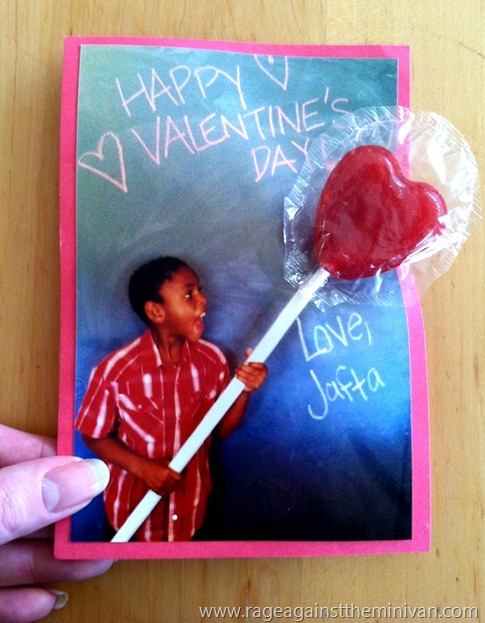
 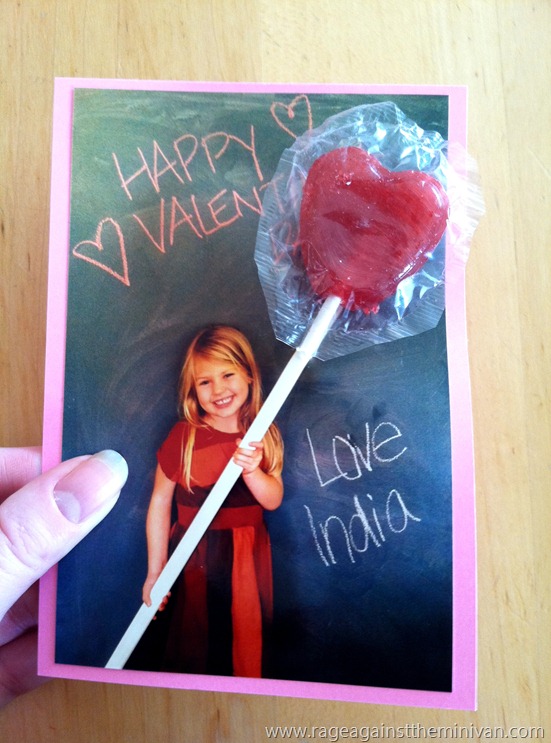 I think they turned out really cute. The kids LOVE them.
  I made a candy-less version for Karis’s class, with a puffy sticker instead of a lollipop.
 Then we made a few cards with all of the kids in the picture, for family members.
  Between the photo printing, flat cards, and lollipops, I spent about $15 on this project . . . for 100 valentines between all of their classes. I think I would have spent more on store-bought cards. Plus, I think the assembly is less time-consuming than folding and signing all of the store-bought cards, since my kids inevitably beg for the cards that require affixing a pencil or a temporary tattoo to each microscopic card. This feels more personal, and will be a fun memento for them to keep as well. Hopefully they can look back on it positively . . . once they are done grieving the giant lollipop that never was.
