A couple years ago I was trying to negotiate around doing the traditional “bag of plastic crap” goodie bag for India’s birthday party. I don’t like buying these, assembling these, or sending them home so that other parents can figure out how long until they can throw away the plastic top, ring, and frog-that-sticks-to-the-window that we gave them. I had the idea of doing cakepops because it’s consumable, and also something easy and affordable that we could make at home.  India loved making and passing out her own creations so much that she has insisted we do it every year since. I don’t mind, because it’s become a fun tradition, and something her friends look forward to. I also love that now all of the kids have gotten in on the action. I know cakepops may seem complicated but the way we make them is super simple. Full disclosure: ours do not come out in a perfectly rounded circle like at Starbucks. I don’t know what kind of witchcraft magic is going on there. Ours are flat on the bottom. But they are also full of sugar and sprinkles and I don’t think any kid cares a bit. And this is a recipe that actual kids can actually make. Which is way better than something perfect made by an adult. Here is what you need. (And if you are a lazy shopper like me, you can order all of the supplies you need from Amazon.com.)
- 1 box cake mix in the flavor of your choice
- 1 tub of white frosting in the flavor of your choice
- 1 bag of white melting chocolate
- Assorted sprinkles
- Lollipop sticks
- Wax paper
- Cellophane bags if you want the kids to take them home.
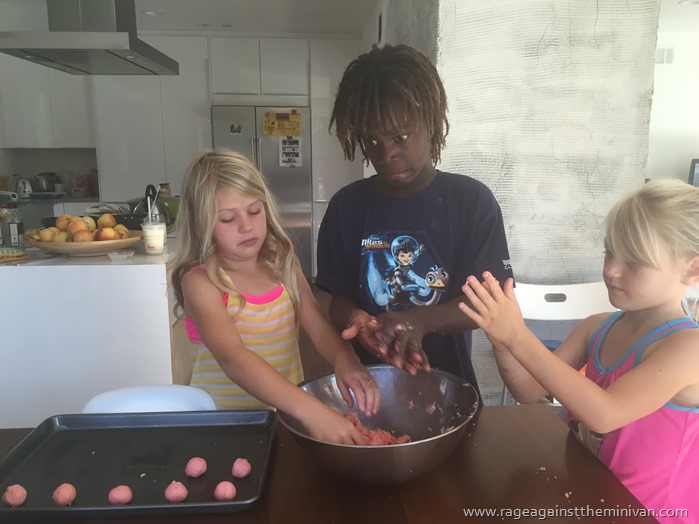
(I’ve stopped putting them in bags because I find they get eaten as soon as they are passed out. Doesn’t matter that they just had a cupcake.) Step 1: Bake the cake according to the instructions on the box. It doesn’t really matter what shape. It also doesn’t really matter if you burn the bottom. ASK ME HOW I KNOW. A note for licking: if you kid loves to lick the batter, let them have at it a bit before you put in the eggs. This is an act of love for your child because batter is fun and delicious and salmonella is not.  Step 2: Once baked and cooled, let your child use a fork to scrape the cake into crumbs into a large bowl. Have them stop before they get to the burned bottom if you got distracted and forgot to pull it out of the oven on time. Step 3. Make your kids wash their hands again. You will understand why with step 4. Step 4: Stir that entire tub of frosting into the cake crumbs. This is what creates the “glue” that forms the cake balls. You can try stirring with a spoon but what really does the trick is using your hands to create the dough. Your children will act disgusted and then they will spend five minutes licking every last bit of dough from their hands.
  Step 5: (You might want to have them wash their hands again .Because they probably just licked them. And picked their nose.) Form the dough into small balls and place on a cookie sheet. Pop it into the fridge for about an hour, or the freezer for about 15 minutes.
  Step 6: Melt the chocolate. I like to use this white chocolate that comes with a tray, so all you have to do is pop it in the microwave. Step 7: (This step requires adult supervision and teamwork and can get messy which is why there are no photos.) Stick the tip of the lollipop stick into the white chocolate and then into the cake ball. Just the tip! (Resists urge to make inappropriate joke.) Repeat and let cool. This will keep the stick in the cakepop. Step 8: Once dried, holding by the stick, submerge each cakepop into the chocolate and then set it on a cookie sheet lined with wax paper. Have your partner follow behind you adding sprinkles before the chocolate dries.
  That’s it! Let them dry for about an hour before pulling off the wax paper. And try not to eat them all yourself before passing them out.
